Drawing Title Blocks for Revit
(saved in Autodesk Revit 2012 as Revit family in .rfa format)
(saved in Autodesk Revit 2012 as Revit family in .rfa format)
In this section you will find FREE Title Blocks that you can use in your projects (free for personal and commercial use).
These files can be freely distributed but only in their original form, the filename(s) must include the following: www.YourSpreadsheets.co.uk.
If the file(s) is to be posted on a website then you must contact me first to discuss in detail.
Note: I do not take any responsibility for these files, use them at your own risk.
Introduction: BIM revolution is well in progress and now every consultancy wants to be able to do 'reviting' to cut costs, impress clients with 3D models, quickly and efficiently detect clashes, quickly and easily generate cross-sections and details, automatically generate material takeoff schedules, reduce number of site queries etc etc. No matter if you are doing lonely BIM or Social BIM (Integrated BIM), there are many advantages of using BIM software but sending 3D models is not enough. There is still need for standard 2D drawings (either as PDFs or exported CAD files), and for that we all need title blocks... ideally good ones to make our life easier.
The below title blocks are easy to use and are automated as much as possible to save you time. These use labels which automatically populate with data from 'Project Information' section etc. Furthermore Revit's revision schedule is used to automatically generate revision table.
Note that Revit is not backward compatible. And although a lot of effort was put into saving these title blocks in as old version of Revit as accessible, to open these you need Revit 2012 version or newer. Autodesk's explanation on the lack of backward compatibility is that it is not recommend to use outdated version of Revit and that most companies are on rolling contracts - hence qualify for an upgrade as soon as a new version is released.
| Mr. Elegant |
|
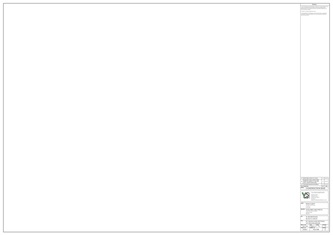
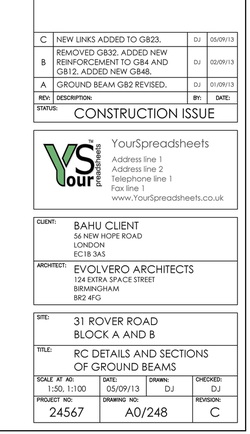
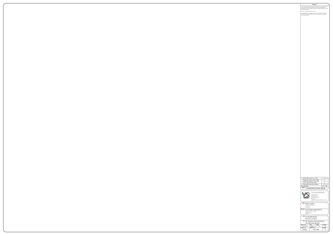
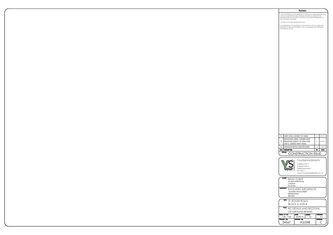
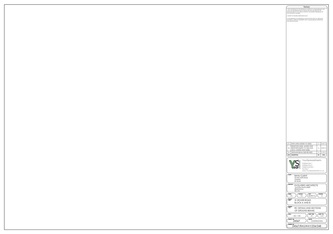
Mr. Elegant, as the name suggests, is a very elegant title block with dignified, equally spaced and easy to read rectangular frames.
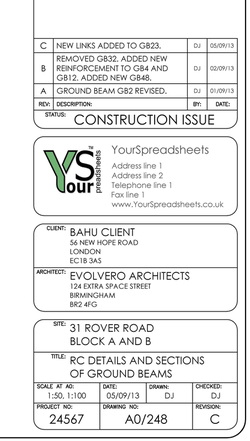
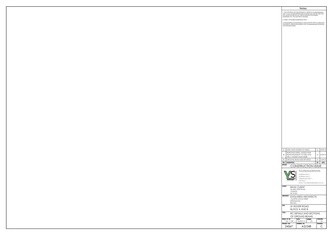
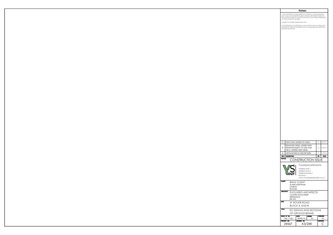
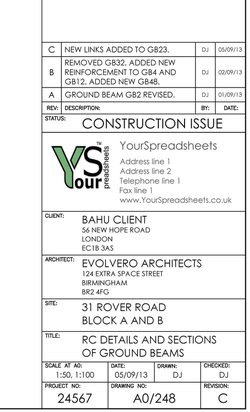
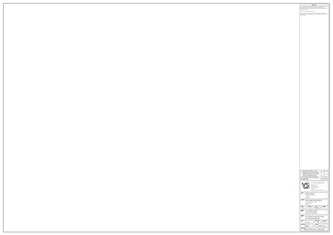
This title block is easy to use and will automatically populate with data from project information section (client name and address, project address, project title, project number etc) and sheet information (sheet name, number, date, scale etc.). Revision table is automatically generated based on revision data in Sheet Issue/Revision table in Revit. Before you import this title block to your project, double click it and insert your company logo and type in your company name and address. It is also recommended to type in standard notes. You can also stretch the title block to suit your printer's margins, should these be different. Metric set (ISO 216): This set includes A0, A1, A2 and A3 title blocks for Revit. To import a title block move the file to 'Project Browser' or in 'Project Browser' select 'New Sheet' and then press Load. For a guide on paper sizes, and how these relate to each other see here. Title block print outs in various paper sizes: |
|
| Mrs. Rounded Corners |
|
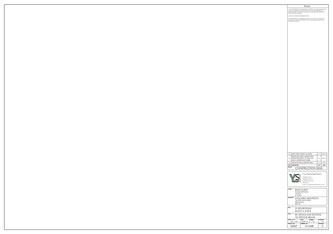
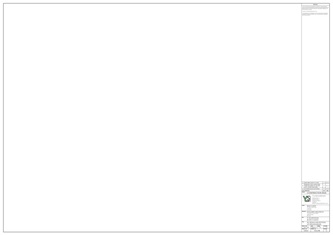
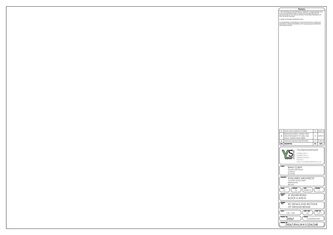
Mrs. Rounded Corners is full of roundness for a more pleasant look.
This title block is easy to use and will automatically populate with data from project information section (client name and address, project address, project title, project number etc) and sheet information (sheet name, number, date, scale etc.). Revision table is automatically generated based on revision data in Sheet Issue/Revision table in Revit. Before you import this title block to your project, double click it and insert your company logo and type in your company name and address. It is also recommended to type in standard notes. You can also stretch the title block to suit your printer's margins, should these be different. Metric set (ISO 216): This set includes A0, A1, A2 and A3 title blocks for Revit. To import a title block move the file to 'Project Browser' or in 'Project Browser' select 'New Sheet' and then press Load. For a guide on paper sizes, and how these relate to each other see here. Title block print outs in various paper sizes: |
|
| Mr. Simple |
|
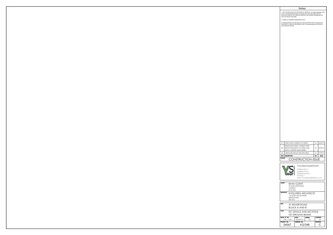
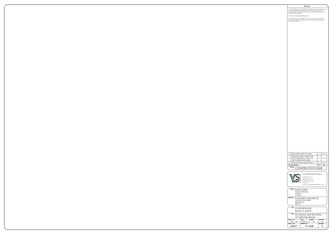
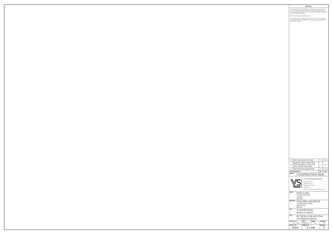
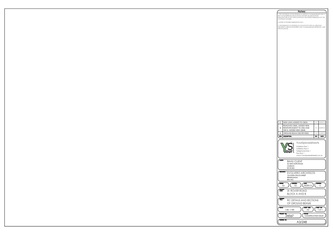
This is a simplified version of Mr. Elegant. There are no gaps between frames which means the title block takes less space. Yet is still very elegant, clean and easy to read.
This title block is easy to use and will automatically populate with data from project information section (client name and address, project address, project title, project number etc) and sheet information (sheet name, number, date, scale etc.). Revision table is automatically generated based on revision data in Sheet Issue/Revision table in Revit. Before you import this title block to your project, double click it and insert your company logo and type in your company name and address. It is also recommended to type in standard notes. You can also stretch the title block to suit your printer's margins, should these be different. Metric set (ISO 216): This set includes A0, A1, A2 and A3 title blocks for Revit. To import a title block move the file to 'Project Browser' or in 'Project Browser' select 'New Sheet' and then press Load. For a guide on paper sizes, and how these relate to each other see here. Title block print outs in various paper sizes: |
|
| Mr. Bubble |
|
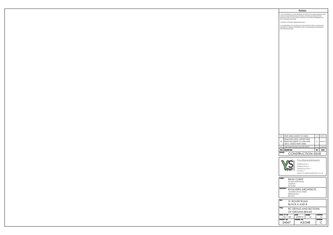
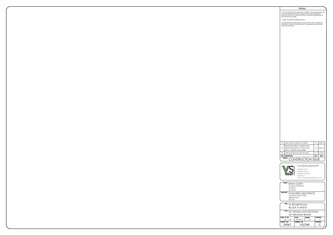
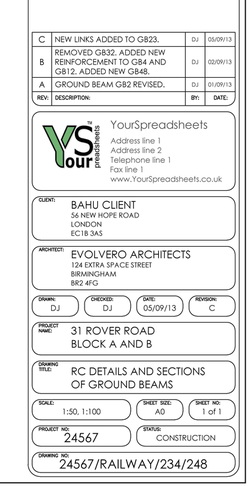
Mr. Bubble very clearly distinguishes important information from each other. Although this title block is very eye appealing it does take more vertical space.
This title block is easy to use and will automatically populate with data from project information section (client name and address, project address, project title, project number etc) and sheet information (sheet name, number, date, scale etc.). Revision table is automatically generated based on revision data in Sheet Issue/Revision table in Revit. Before you import this title block to your project, double click it and insert your company logo and type in your company name and address. It is also recommended to type in standard notes. You can also stretch the title block to suit your printer's margins, should these be different. This title block requires creation of two shared parameters: sheet size and sheet number e.g. '1 of 2' sheets. Alternatively these can be removed or labels replaced with text elements. Metric set (ISO 216): This set includes A0, A1, A2 and A3 title blocks for Revit. To import a title block move the file to 'Project Browser' or in 'Project Browser' select 'New Sheet' and then press Load. For a guide on paper sizes, and how these relate to each other see here. Title block print outs in various paper sizes: |
|
| Your comments |

